This post is the second part of our course on having a home server. And before we continue, I recommend you already have chosen the server you want to use, as we are going to see how to configure a media server on your server.
All applications will be run through docker. I will leave the configuration individually in this post, but you can find it all in this GitHub repository, don't forget to give it a nice star ⭐.
Index
1 - What is a media server?
A media server is basically a computer (or several) that we use to store and access different multimedia items like movies, TV shows, music, or images.
The main idea behind a media server is to access this information from outside the server itself, in a streaming format. For that purpose, we will install (using docker) applications that allow us to send this content to other devices, such as a smart TV, a mobile phone, other computers, and more.
What we are going to build in this post is basically a homemade Netflix.
In this post, we are not going to see how to access the server from outside your home, only from your local network.
2 - Media applications: Plex vs Jellyfin vs Emby
To be able to stream our media content from our server to mobile phones or TVs, we are going to need an application that fulfills that purpose. Today, we have three main options: Plex, Jellyfin, and Emby.
Each has its pros and cons and here I'll try to clear your doubts.
Before continuing, all configurations are specified to work with Windows on the D:\ disk; meaning you'll have to adapt that part to your own file system.
For example, the config is shown as - D:\Server-config\plex\config:/config
If you use Linux/Mac, that route would look similar to /home/testuser/server/plex/config:/config or whatever you prefer.
In the case of Synology, you need to use the path inside /volumes1
2.1 - Setting up a home server with PLEX
I need to mention this is the option I use on my personal server since it has a native app for the Synology DS420+, so you don’t need Docker to run it, and personally, it works really well for me.
But the configuration for a docker-compose is as follows:
plex:
  container_name: plex
  image: linuxserver/plex
  restart: unless-stopped
  environment:
    TZ: Europe/Dublin
    UMASK_SET: 022
    VERSION: docker
  ports:
    - "32400:32400" # (for access to the Plex Media Server) [required]
    - "3005:3005" # (for controlling Plex Home Theater via Plex Companion)
    - "8324:8324" # (for controlling Plex for Roku via Plex Companion)
    - "32410:32410/udp" # (for current GDM network discovery)
    - "32412:32412/udp" # (for current GDM network discovery)
    - "32413:32413/udp" # (for current GDM network discovery)
    - "32414:32414/udp" # (for current GDM network discovery)
    - "32469:32469" # (for access to the Plex DLNA Server)
  volumes:
    - D:\Server-config\plex\config:/config
    - D:\Server-config\plex\transcode:/transcode # optional
    - D:\Documents\Movies:/data/Movies:ro
    - D:\Documents\Shows:/data/Television:ro
In the volumes section, we're linking the local config, which is on our machine, with the one inside Docker. It's important to do this so that if we stop the service or the server shuts down, we don’t lose the configuration.
Also, the paths for movies and TV shows.
Finally, you can see we’re mapping among others the port 32400 to access from the browser, so if you enter your server’s IP and that port, you’ll get access to plex.
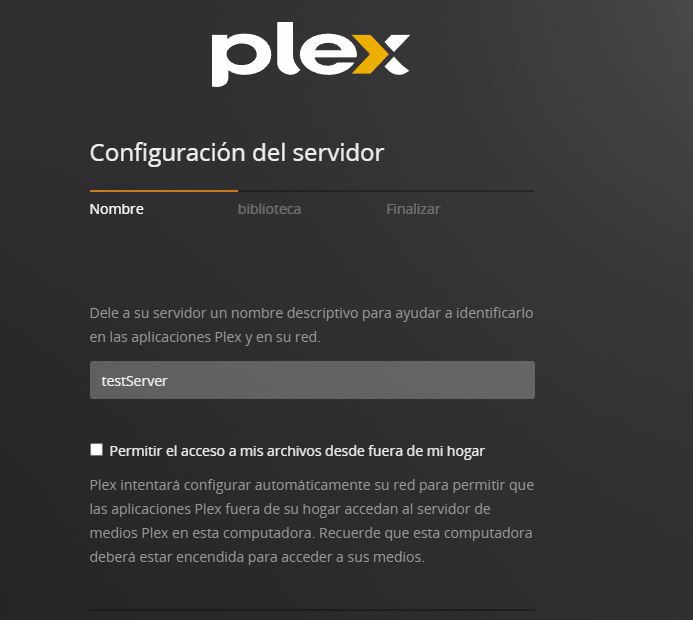
But before anything, you have to go to /manage, where you’ll need to register, as this is required to set up your server: http://{serverIP}:32400/manage.
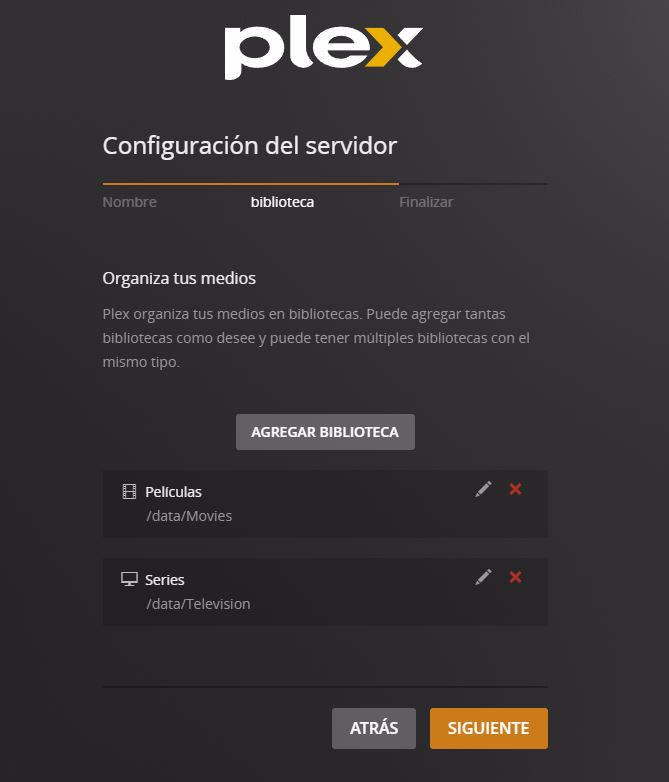
We'll add the libraries, i.e., where our content is located:
Finally, we add content to the server folder, in my case just some movie:
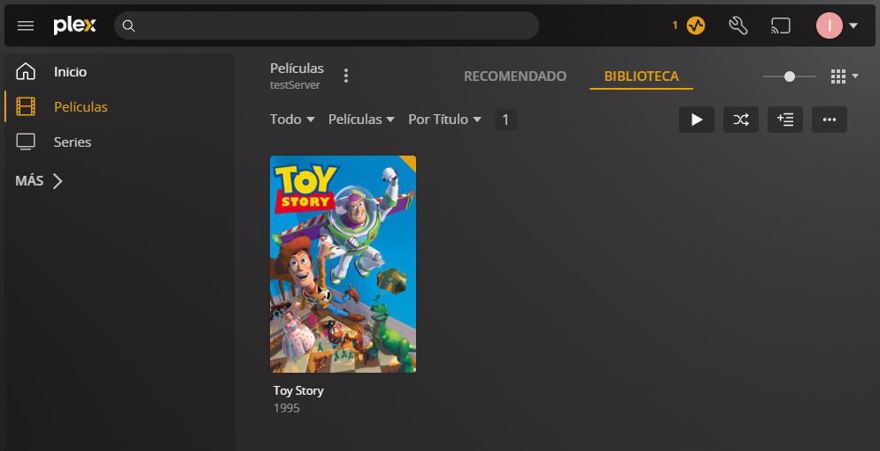
Plex by default has TV channels and free-to-watch movies, but in the next post, we'll cover how to get your own content.
One drawback of Plex is you have to register for their service, if not, you can't access your own server. Once you’ve registered, you can access it even if the server doesn’t have external access set up.
Also, the mobile version is paid. Neither the browser nor TV versions (at least in my case) require a paid subscription, but the mobile versions do.
And yes, while it’s not very expensive, it isn’t exactly cheap either, the price of plex pass is 5 euros a month or 120 euros for a lifetime license.
2.2 - Setting up a home server with Jellyfin
Personally, it’s an option I quite like, and for a while I used Jellyfin as my media server, since in this case, you do NOT have to create an account anywhere, you just add users on the server itself.
This is the docker compose config for jellyfin:
jellyfin:
    image: linuxserver/jellyfin
    container_name: jellyfin
    environment:
       TZ: Europe/Dublin
    volumes:
      - D:\Server-config\jellyfin\config:/config
      - D:\Server-config\jellyfin\transcode:/transcode
      - D:\Documents\Shows:/tv
      - D:\Documents\Movies:/movies
    ports:
      - 8096:8096
      - 8920:8920
    restart: unless-stopped
once it’s running, you can access http://{ServerIp}:8096/ where you'll get the window to configure the server:
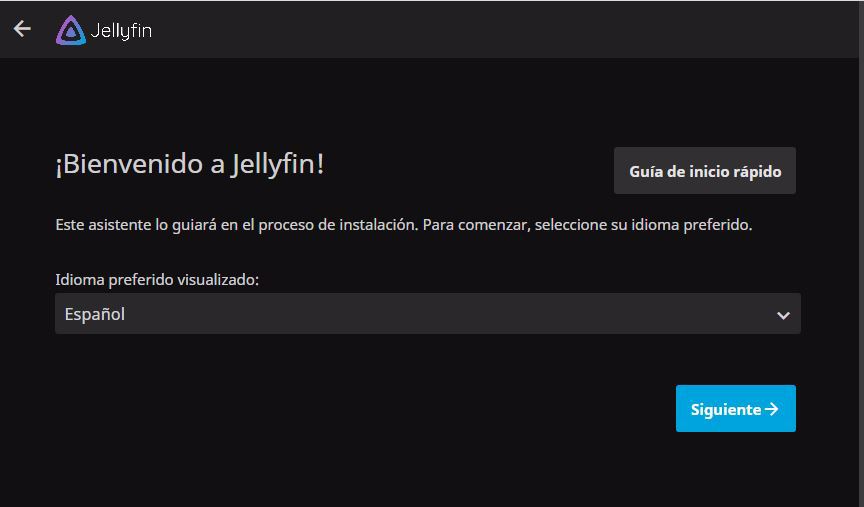
In this setup you’ll need to create your admin user. Later, you can add more users (even with parental controls, etc.) without problems.
As in plex, we have to add the libraries, that is, movies and series.
Click add library and set the content. At this stage, it’s important not to forget to add the folder you want to map, remember, inside your Docker container, not your local folder.
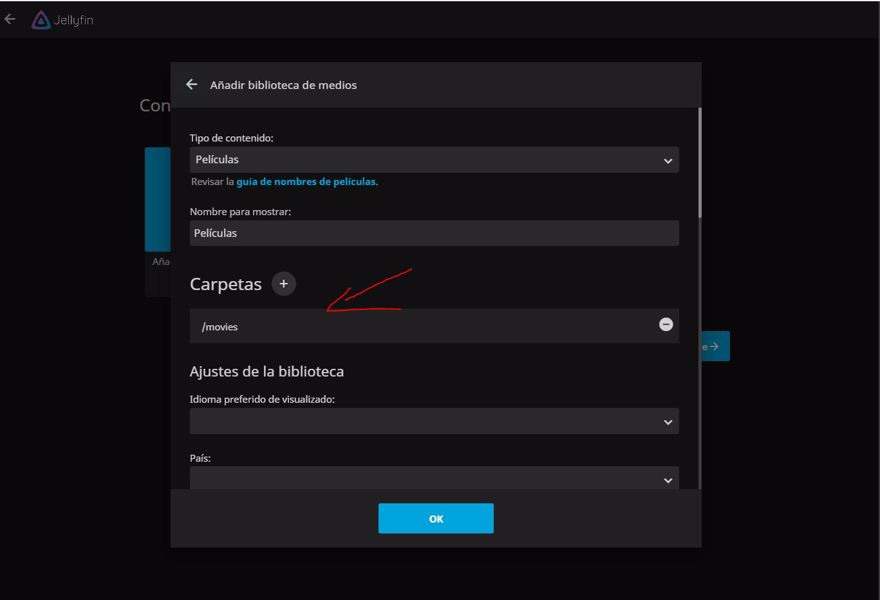
Do the same for the series and any other content you want to include.
Then click next, you can change the language here if you wish, and change the other default settings.
You have to keep the option “Allow remote connections to this server” enabled, because otherwise you won’t be able to stream to other devices like your mobile, TV app, etc.
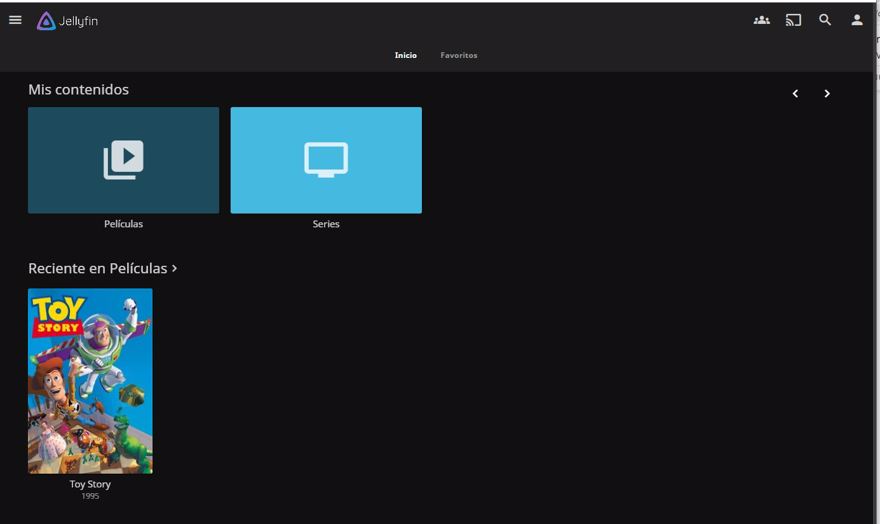
Once you complete the setup, simply log in at the same URL and you’ll have access to all your content:
Jellyfin is focused only on the content you have on your server. It does not obtain external content, and in the same way, users reside solely on your server.
By default, you do not have the possibility to connect from outside (with plex this can be done “out of the box”). In most cases, though, this won't be necessary.
One final note, if you use Synology DS420+ Jellyfin will use 100% of the CPU and there isn’t an easy fix. I recommend either Plex or Emby on any Synology device since they have native applications.
2.3 - Setting up a home server with Emby
Finally, last but not least, we have Emby, which is very similar to Jellyfin, since Jellyfin is a fork of Emby.
This is the code for your docker-compose file:
emby:
image: linuxserver/emby
container_name: emby
environment:
- TZ=Europe/Dublin
volumes:
- D:\Server\Server-config\emby\config:/config
- D:\Server\Documents\Shows:/data/tvshows
- D:\Server\Documents\Movies:/data/movies
ports:
- 8096:8096
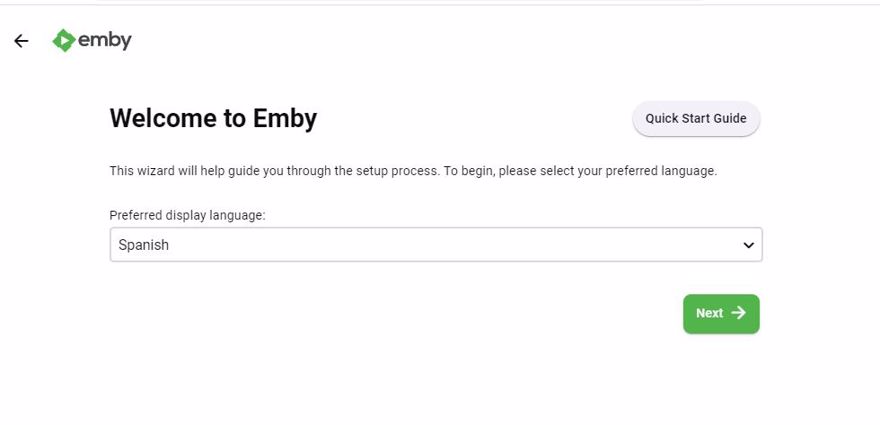
- 8920:8920 #optionalOnce this is done, we can go to the url http://{ServerIp}:8096/ to configure the server.
The steps are the same as in Jellyfin, the first thing to do is set up the server with an admin user and the libraries:
When you include the libraries, don’t forget to map the folders:
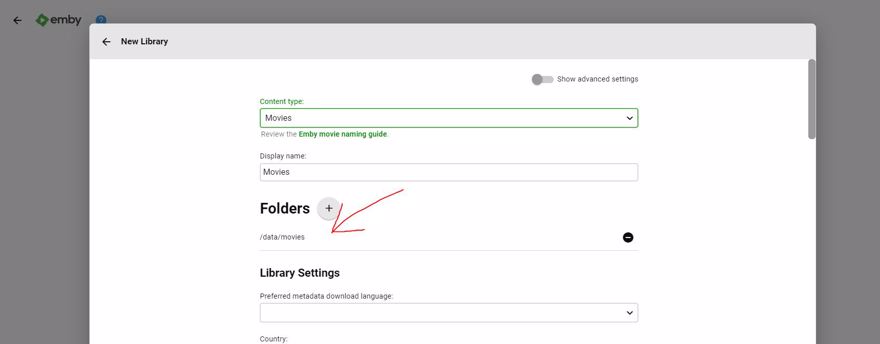
and then finish the installation. Once that's done and you log in, you can already access your content:

The difference between emby premium and regular emby (or jellyfin) is basically that with the premium you can access live TV and record programs, enjoy cinema mode, and sync and back up user information. Pricing is either 5 euros a month or 120 euros one-time for lifetime access.
2.4 - Synology Video Station
As a Synology DS420+ user, I’ve also tried the one that comes with the device, called Video Station. In comparison with the other three, it's quite lacking. Sure, it plays videos, but everything else is rather messy.
In some series, episodes don’t appear together; for example, in a whole season, you might see episodes 1 to 8 together, then episode 9 alone, and then another chunk with the rest.
This is just one example; in general, it’s a bit of a hassle, and frankly, I don’t think it’s worth it.
Conclusion
In this post, we have seen different options to configure our homemade media server.
We've compared Plex, Emby, and Jellyfin.
Personally, the one I like best is Plex, since I speak English daily and the extra content doesn’t bother me; my partner even watches some of it. But I recommend trying all three options, the only totally free one at every level is Jellyfin.
In the next post, we'll see how to get content for our media server.
