This post is part of the whole series for getting multimedia content. In the previous post, we saw Sonarr, the library to manage TV shows; this post is very similar since Radarr comes from the same family of applications.
Table of Contents
1 - What is Radarr?
Radarr is an application that we install through containers on our system using docker, or in my case Portainer, which allows us to manage our Movie collection.
With Radarr, we can see which movies are currently available in the system, when movies we are searching for become available, and it includes a search tool as well as a recommended section.
Of course, just like with Sonarr, we can set up Radarr to download movies automatically.
2 - How to install Radarr?
To install Radarr, all you need to do is paste the following code inside your docker-compose file, whether you are using docker or Portainer.
radarr:
  image: linuxserver/radarr
  container_name: Movies-radarr
  ports:
    - 7878:7878 # port mapping
  volumes:
    - C:\Server-config\radarr:/config # config directory for radarr
    - C:\temp\downloads\complete:/downloads/complete # completed downloads directory from sab
    - C:\temp\downloads:/downloads
    - C:\Documents\Movies:/storage/Movies # where radarr will copy your movies. add as many of these as you need
  environment:
    TZ: Europe/Dublin
After this, you just need to go to the url http://{ip-server}:7878/ to access the application.
The rest of the information is as follows: you need to specify the path where the content will be downloaded. If you followed the post about Transmission for the torrent client, you’ll notice we use the same path for downloads.
Additionally, you set the path where the configuration will be, and finally, where your movies will be stored permanently.
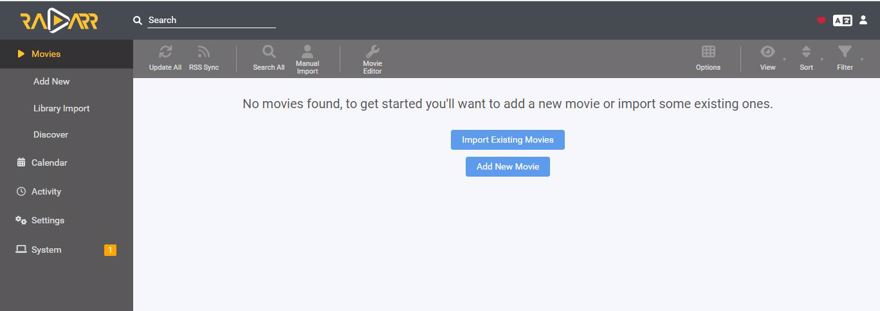
Once you access it, you’ll see the following:
3 - Search content in Radarr
To search for content in Radarr, just use the top bar or click add new for a bigger search bar to appear.
You can search either by name or by IMDb ID. For example, if you search for Jurassic Park:

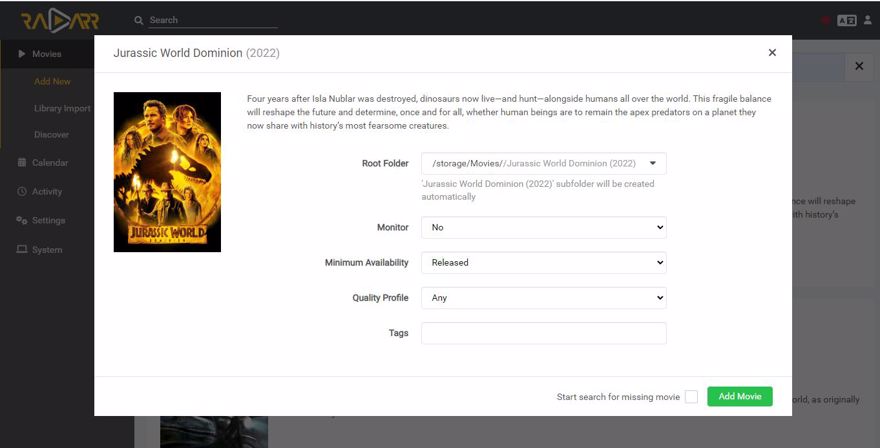
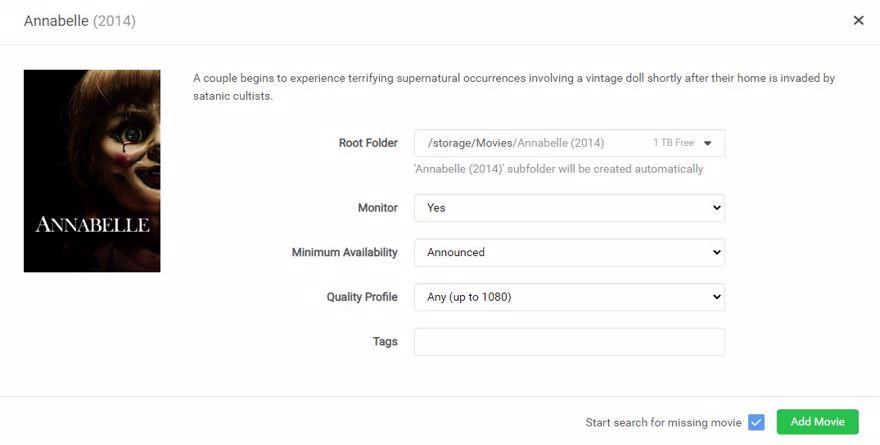
If you click, a window will appear to add the content, specifying some details.
Here you can specify the following:
- The folder where the episodes will go on your hard drive.
- Monitor the episodes when they become available.
- When you want to start searching. I always select released, that way you find good quality files, not ones recorded in cinemas with a camera.
- The quality in which you want to download them.
- Additional tags you can manually add.
Then, at the bottom menu, there is a checkbox to enable the software to start searching for the movie automatically if we are monitoring it.
Finally, the green button to add the series to our library.
For now, just hit the green button which will add the series to the library. If you click on the movie card again, it will open the movie details. There you can see the path, size, history, titles in different languages, etc., but the most important tab is the search one.
Clicking on search will automatically start searching for the content in your indexers, and if you have it configured, you’ll see the results.
4 - Add an indexer to Radarr
An indexer, simply put, is where we search for content to download.
Personally, I recommend using Prowlarr, which we covered in a previous post. This is because Prowlarr lets us centralize all indexers in one place, and if we update a configuration in that indexer, it’s automatically propagated to the other apps as well.
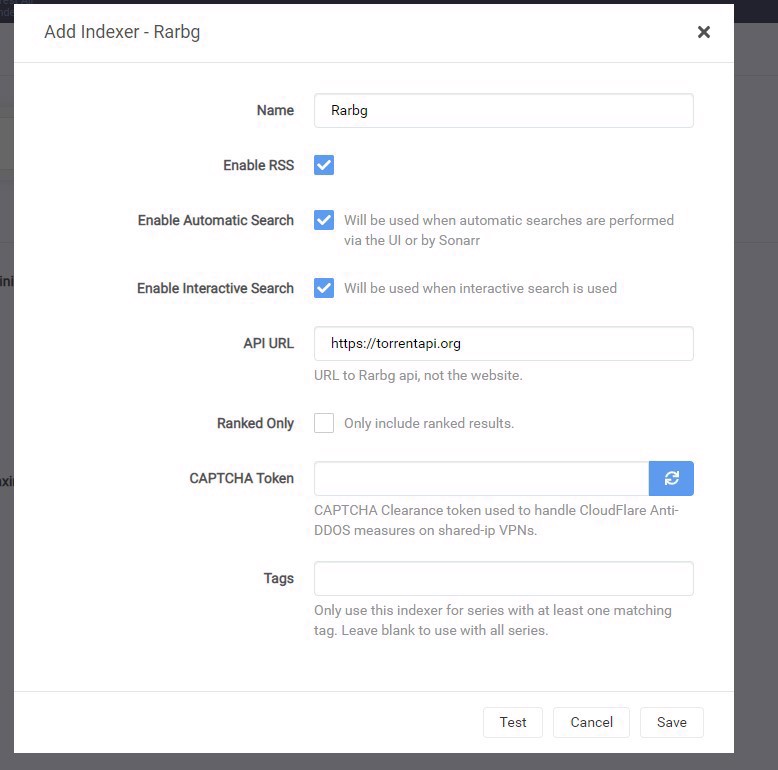
But if you don’t want to use Prowlarr, you can manually add those indexers. For that, go to Settings -> Indexers and hit the + to add a new one.
Personally, I use Rarbg, which integrates directly with Radarr, but all of its content is in English. If you want to add one that isn’t listed or is private, you need to check if it is newznab or torznab, for example, and add the configuration manually. If you do it through Prowlarr, you have a search tool, etc.
Once configured, you can go to the series in question and hit the search tab again, and now you’ll see if it finds any content.

In this image, we have a lot of info, from left to right:
1 - Where the content comes from
2 - Days since the content was created
3 - Download button
4 - Alerts; in Sonarr you can create filters or conditions, like only download 1080p content. If something is not in 1080p, you’ll get an alert; also if there are no seeders sharing the file
5 - Content title, it usually includes the quality, the source, or even the codec used. H265 is very good now as it results in smaller files compared to h264 (about 15-20% smaller).
6 - The indexer the file comes from
7 - Your history with the file (if you have downloaded or deleted it, etc)
8 - File size.
9 - The number of users with the complete file vs. incomplete. Both together are called Peers, and these are basically the users you will get the content from.
a - Ideally, this is blue, and the first number is high. If the first number is 0, you probably won't get that file, as at least for now, no one has the complete file. Maybe someone with the file comes online later, or maybe it never gets shared again.
10 - The language; as I said, it’s always easier in English especially with public torrents, though there are some very good private Spanish trackers.
11 - File quality
12 - Formats (I never see this used, it's usually blank)
13 - User (again, usually blank)
14 - Tags Radarr receives from the indexer.
Once you choose to download, Radarr will send the information to the torrent application.
5 - Add a download client to Radarr
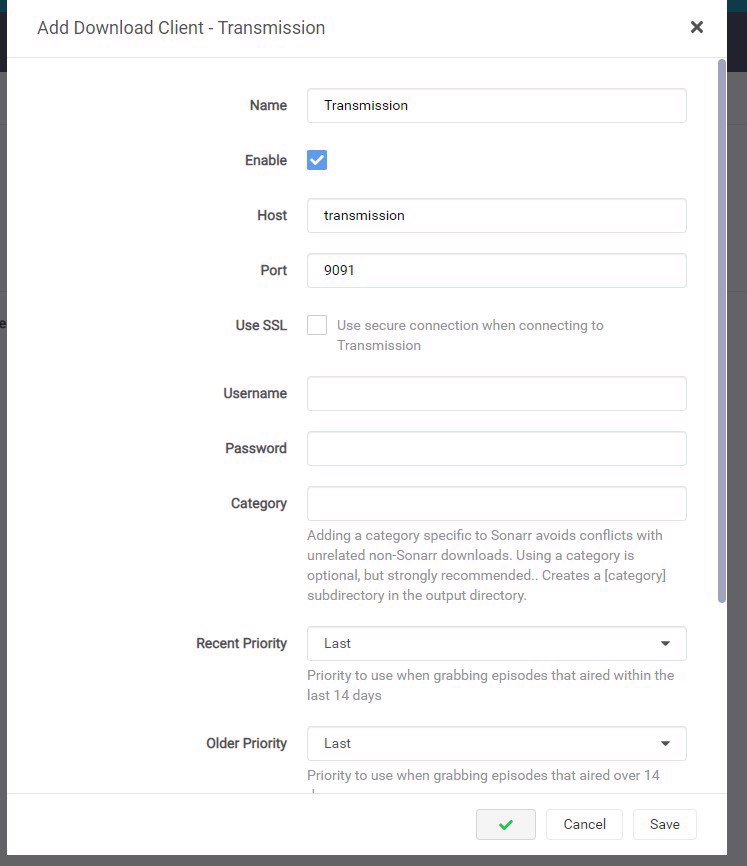
To download content, you need a download client. In a previous post, we saw how to configure Transmission, a bittorrent client on our server. Now we need to link it with Sonarr.
To do that, go to settings -> Download Client and hit the +. There you specify the client (in my case, Transmission) and fill in the required information:
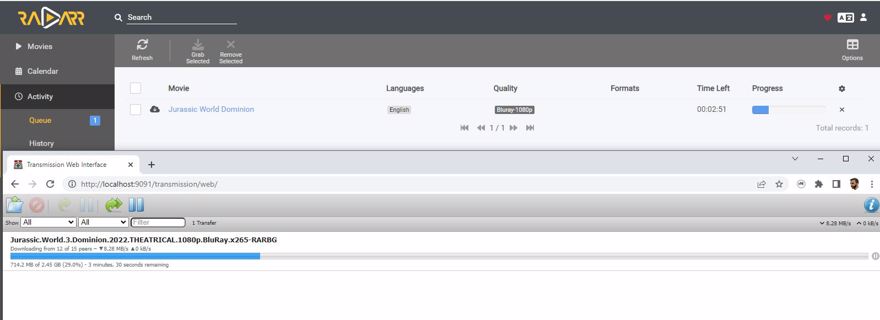
Now you can go to the series you want and download the content. If you go back and hit download, you’ll see in the sidebar under activity that you get an alert and also find that file in the torrent client:
6 - Monitor content in Radarr
One of the great features of Radarr is that it lets you monitor content. This includes waiting for a show to become available or automatically searching and downloading existing content.
It’s a very powerful feature, but you have to be careful. If you leave the default values, you could end up with some really large files.
6.1 - Configure Radarr to download files of moderate size
Personally, I’m not too picky about content or quality. My TV is 1080p and that’s the maximum I download, but I also have extra configurations in case I want to watch a movie while traveling, etc.
The first thing I do is go to settings -> quality. Here, you see the configuration for file size per minute; as I said, I’m only interested in 720p and 1080p, so I drop everything lower to nearly the minimum and raise the boundaries for these qualities.
For 720p, a maximum of about 25mb per minute is enough compared to the default 130mb.
For 1080p, about 43mb per minute, while the default is 400mb.
If you have a 4k TV, you’ll need to check the file sizes that work for you.
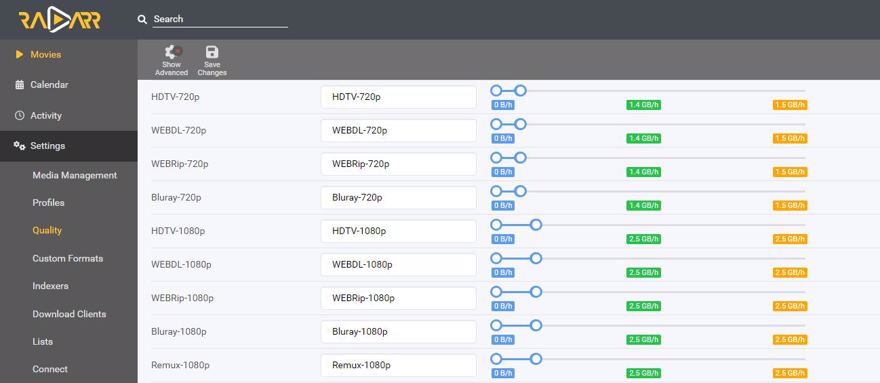
What does this mean? Well, it’s simple: if you have a 1h 30m movie, it will take about 2.5–3gb in 1080p (and 1.5–2gb in 720p), while with default values, you may end up with movies as large as 25gb.
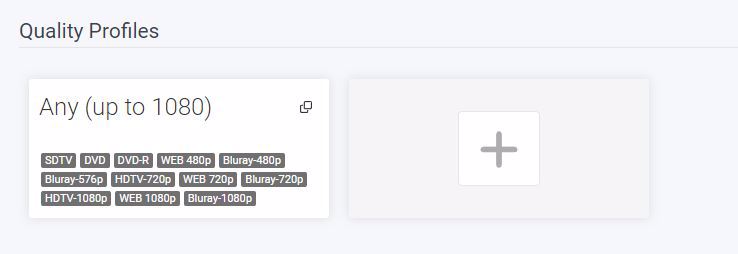
Second, go to Settings -> Profiles and delete all the existing ones. Then select only what interests you, the same profiles you configured in the previous list:
Finally, when adding a new movie, now we will monitor and mark it to start searching on its own. It will only download files that match the filters specified in the profile:
The same applies to new movies we have set to monitor.
Conclusion
In this post, we’ve seen what Radarr is.
How to configure Radarr to automatically download content.
Key features of Radarr.
